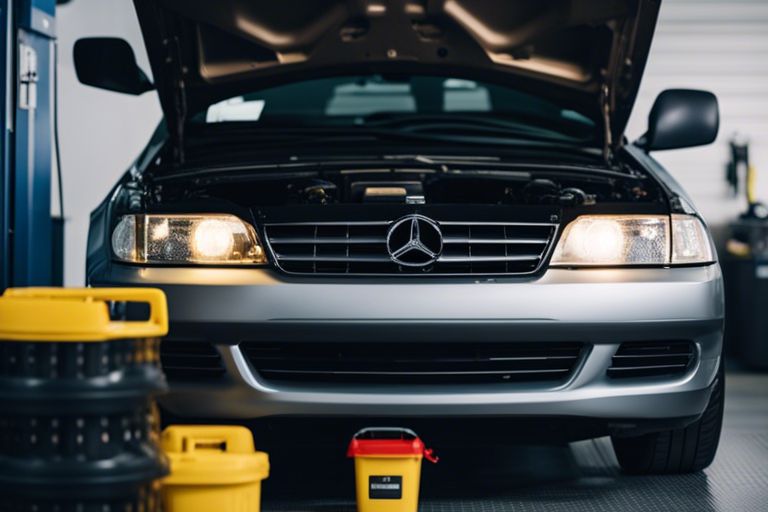
How to do an oil change ?
Are you ready to take control of your car’s maintenance and learn how to do an oil change? You’ve come to the right place! Changing your car’s oil is a crucial task that will keep your engine running smoothly and prolong its lifespan. Don’t worry if you’ve never done it before – with these step-by-step instructions, you’ll be able to do it like a pro. From raising the vehicle to checking the dipstick level, we’ll guide you through the entire process. So, let’s get started and give your car the TLC it deserves!

Preparation
Before you start changing your oil, it’s crucial to prepare your vehicle and gather the necessary tools and materials. This will ensure a smooth and safe process.
Raise the Vehicle Safely
Now that you’re ready to begin, raise your vehicle using a ramp or jack stands. Make sure the vehicle is securely supported to prevent any accidents or injuries.
Gather Essential Tools and Materials
Assuming you have a basic understanding of your vehicle’s mechanics, gather the necessary tools and materials, including a socket wrench, catch pan, new oil filter, oil filler cap, and enough motor oil to fill your vehicle’s engine.
Another crucial item to consider is a pair of gloves and some rags to protect your hands from hot oil and dirt. Additionally, consult your owner’s manual to determine the correct type and amount of oil required for your vehicle. Having all the necessary tools and materials within reach will save you time and reduce the risk of errors.
Draining the Old Oil
Now that your vehicle is raised and securely supported, it’s time to drain the old oil.
Position the Catch Pan and Remove the Drain Plug
Assuming you’ve positioned yourself underneath the vehicle, place the catch pan under the oil pan drain plug to catch the old oil as it drains out. Make sure the pan is large enough to hold the full volume of oil and adjust its position as needed as you remove the plug.
Inspect the Vehicle While the Oil Drains
The oil will take several minutes to drain completely, so use this time to inspect other areas of your vehicle.
Plus, take a closer look at the engine mounts, belts, and hoses for any signs of wear or damage. Check for any leaks or cracks in the engine block, cylinder head, or oil pan gasket. This is also a good opportunity to inspect the brake pads, rotors, and suspension components.

Replacing the Drain Plug and Oil Filter
Your next step is to replace the drain plug and oil filter. This is a crucial part of the oil change process, as it ensures that your vehicle’s engine is properly protected and running smoothly.
Reinstall the Drain Plug and Torque
If you’ve finished draining the oil, now it’s time to reinstall the drain plug. Make sure to wipe down the drain plug and oil pan threads, and inspect the condition of the plug threads. Replace the plug if you have any concerns. Tighten the drain plug to the manufacturer-specified torque using a socket wrench.
Remove the Old Oil Filter
Plug in your oil filter wrench (if required) and locate the oil filter on your vehicle. Remove the filter carefully, as it will retain some oil inside. Be prepared for any spills or drips.
Remove the old oil filter slowly and carefully, taking note of any remaining oil inside. This will help prevent any mess or spills. Once removed, set the old filter aside for proper disposal.
Clean the Mount and Remove the Old O-Ring
Reinstall your attention to the engine mounting plate, where the old oil filter was attached. Make sure the O-ring from the old filter isn’t still clinging to the plate, and clean off any residue that may be left behind.
Filter out any remaining debris or residue from the mounting plate, ensuring a smooth surface for the new oil filter. This step is crucial to prevent any leaks or issues with the new filter.

Installing the New Oil Filter
Keep in mind that installing a new oil filter is a crucial step in the oil change process. It’s vital to do it correctly to ensure the longevity of your engine.
Lube the New Filter and Attach by Hand
You’ll want to lightly lubricate the O-ring vicinity of the new filter with new oil for a smooth install. Then, screw the filter onto the engine mounting plate by hand. Make sure not to overtighten it, as this can damage the filter or the engine.
Tightening the New Filter Correctly
You’ll need to tighten the new filter correctly to ensure a proper seal. Typically, filters are tightened three quarters to one full turn after the filter O-ring contacts the engine, but be sure to check the filter’s directions to confirm.
Hand tightening the filter is vital, as over-tightening can cause damage to the engine or filter. Take your time and make sure it’s snug, but not too tight. Remember to refer to your owner’s manual or the filter’s instructions for specific guidance on tightening the filter correctly.
Refilling with New Oil
Despite the importance of draining old oil, refilling with new oil is a crucial step in the oil change process. This is where you get to put in fresh, clean oil that will keep your engine running smoothly.
Remove the Oil Fill Cap and Add New Oil
While you’re still underneath the vehicle, locate the oil fill cap and remove it. Use a funnel to pour in the specified volume of new oil, making sure not to spill any.
Choose the Right Viscosity and Volume of Oil
Refilling with the right type and amount of oil is crucial. Consult your owner’s manual to find out what viscosity and volume of oil your vehicle requires.
Remove any doubts you may have about choosing the right oil by consulting your owner’s manual or talking to a mechanic. The wrong type of oil can damage your engine, so it’s necessary to get it right.
Replace the Oil Fill Cap and Start the Engine
Little by little, you’re getting closer to finishing the oil change. Replace the oil fill cap and start the engine, letting it run idle for at least thirty seconds.
Understanding that this step is critical, make sure to inspect the drain plug and filter areas for any signs of oil leaks during this time. If you notice any leaks, stop the engine immediately and have them repaired.
Final Check and Cleanup
Once again, congratulations on completing the oil change! Now it’s time for a final check and cleanup to ensure everything is in order.
Inspect for Oil Leaks and Check the Dipstick Level
Inspect the drain plug and filter areas for any signs of oil leaks. If you notice any leaks, stop the engine immediately and have them repaired. Next, check the dipstick level to ensure it’s within the recommended range. If it’s low, add more oil as necessary.
Stop the Engine, Lower the Vehicle, and Check the Oil Level Again
An important step to confirm the oil level is accurate is to stop the engine, lower the vehicle, and check the dipstick level again. This ensures the oil has settled and the reading is accurate.
Plus, this step gives you another opportunity to inspect the drain plug and filter areas for any signs of oil leaks. Remember to wait at least thirty seconds after stopping the engine to allow the oil to settle before checking the dipstick level.
To wrap up
Drawing together all the steps, you’ve successfully completed an oil change for your vehicle! From raising the vehicle to adding new oil, you’ve taken the necessary precautions to ensure a smooth process. Remember to refer to your owner’s manual for specific instructions tailored to your vehicle’s needs. If you’re still unsure, check out How to Change the Oil in Your Car (with Pictures) for a detailed guide. Pat yourself on the back – you’ve taken a crucial step in maintaining your vehicle’s health!


